


Fast Hyperlinks
Attain the blown step
Discover the path to the boss
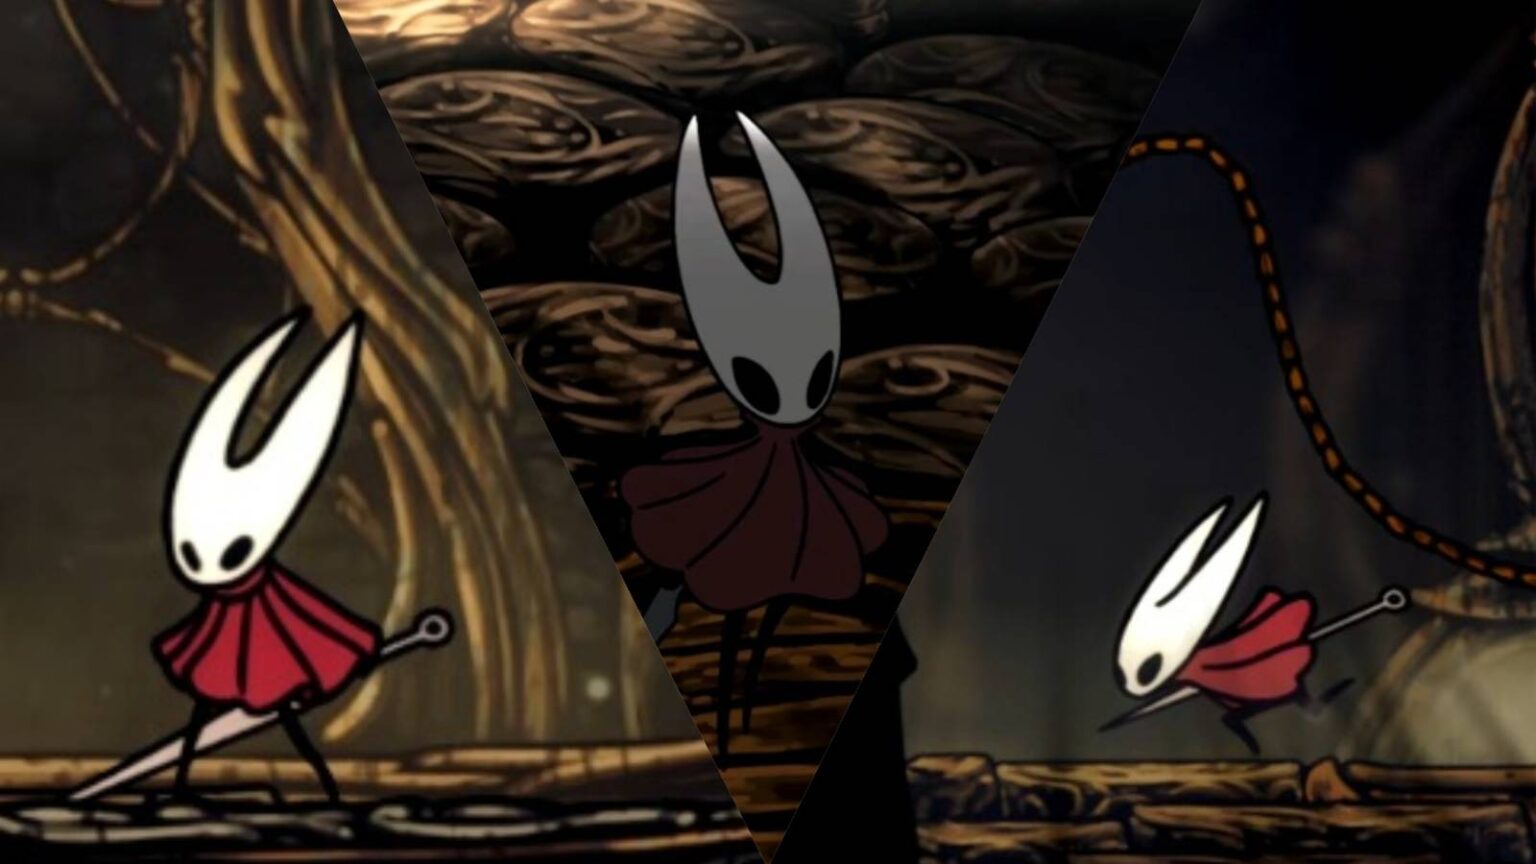
Hole Knight: Silksong’s blasted steps are key to reaching the necessary second act of Group Cherry’s newest journey. It takes some instruments and capabilities to get to that.
Plus, Blasted Steps is among the most difficult areas in Silksong. It additionally options boss fights that may actually tear you for those who’re not cautious, so for those who’re each of them, this information is roofed.
This walkthrough will take you to the blown up step, conquering the challenges of a lot of its platforms, and masking how one can take care of the final decide, the boss.
Attain the blown step
To succeed in and absolutely discover the blasted step, you could put together a number of issues.
First, you want a Needlin to open the crucial door. This may be obtained by defeating a widow within the Ghost Bell Coronary heart. Additionally, you want a persistent grip, so observe the information to search out it.
I journey the Bellway and Shellwood. Proceed previous the hole till you attain the lengthy, dusty path. That is the trail to the explosive staircase.
Alternatively, if this path is just not open, you’ll be able to soar and pogo the flowers within the photograph you’ll be able to see within the gallery above. Irrespective of the way you get caught up within the explosive staircase, it is time to get up.
Crossing a harmful hole
See the rock falling from above and proceed to go left. The trail on the left is presently unaccessible, so we dive into the primary hole.
After climbing, head proper and soar over the spike pit to climb. In ascending order, head to the following space.
There’s a bench on the left instantly, so be at liberty to relaxation if crucial. The sand you see in entrance works identical to a spike pit, so do not fall.
Use your drifter’s cloak continuously to regulate the jumps, because the wind could make these jumps tough. Preserve heading left, then make a giant leap to the following platform, then instantly soar onto the platform on the appropriate.
After climbing, dive into the platform on the left and encounter the primary new enemy on this space. These intense, historical swordsmen are fairly agile, however their actions are additionally very simple to search out.
Probably the most harmful factor is the Protect Bash, adopted by a two-strike combo. Remove him, then go left and make a giant leap to the following platform. Go left and discover a small alcove with spikes on the underside.
Bounce to the wall after which put together to take care of the enemy. Take them out and use gusts of wind that blows appropriately if doable. If you wish to depend on your expertise, you can even ring the bell and lie down.
Irrespective of the way you transcend that, you might be about to succeed in the farthest platform on the appropriate. Surrounded by the sand beneath it, you should use the castaway cloak to hover and seize a reminiscence rocket.
Head to the following part and gently float on every platform with the castaway cloak. On the finish of the cross, it’s map maker Shakura, so purchase the map for the blown up steps from her.
Discover the path to the boss
After speaking to Shakura, elevate your head and head left. Pay attention to new enemies that can cross the hole and shoot a spinning cone at you. Additionally, you are able to do ricotchet, so be very cautious.
When you attain the sting, use the bell to seize the wall and float on the following platform. Use a mixture of a drifter cloak and a persistent glove to observe the trail. This results in the tip of the trail.
Beneath you’ll be able to seize a stash of the rosary, however your primary function is upwards. There’s a wall that you could cling to the highest after which head in the direction of the highest part. Keep away from the rocks after which sprint to the following protected zone.
Use your cloak to succeed in the leftmost platform and maintain the left. Flicking the swap will decrease some gates that may be even larger.
Use them to discover a bell that may seize and bounce again, then enter the wall that continues. Use the platform to seize extra gates and proceed till you discover a gap the place you’ll be able to dive in.
You possibly can flip left and insert the rosary to create a bench. You may as well unlock the Bellway if you want. Head left and you will discover fleas from Caravan Quest.
Return to the Break up hall and go proper. This leads you on to the final decide, the boss.
Defeat the final decide
Use a drifter cloak right here. It is because it supplies most management within the air. Dodge the enemy after which run the platform.
Maintain the swordsman and head left. Use this platform to float, bounce the bells off the wall and information you.
On the following platform, you will have to battle with the swordsman and the cone-shaped enemy. Remove them, bounce the bells off the wall, then bounce off that wall onto the following set of bells.
When you attain the following platform, the following display shall be your remaining battle with the decide, so prepare.
Earlier than preventing him, you could use Needlin to activate the door. It begins a narrative scene that triggers a battle with the ultimate decide.
He’s a really aggressive and generally cruelly tough boss. However due to our information, sending him off shall be a snap.
After defeating the final decide, you conquered the abused stairs and entered the second act of Silkson.
Hole Knight: Silkson
launch
September 4, 2025
Developer
Group Cherry
Writer
Group Cherry
engine
Unity
Franchise
Hole Knight
Variety of gamers
Single participant
Steam deck compatibility
verification